The Uncut DJI Avata 360 Review and Reality Check: Tool or Toy?
You’ll recognise the predictable pattern on YouTube whenever a new drone launches. A wave of hyper-polished, day-one reviews reading straight from the spec sheet. Fancy studios, neon lights. Yada yada yada.
Worse than that, these people often have a pipeline of free gear landing on their doorsteps, and so it’s easy to see why people hesitate to speak critically.
This is not one of those reviews.
After putting the DJI Avata 360 through its paces in real-world shooting environments—from dark, dirty underpasses to quiet woodland trails—here is an honest, unscripted breakdown of what this drone actually delivers for independent filmmakers, where it falls short, and why it might deserve a spot in your kit.
Here’s the Amazon Link to the DJI Avata 360 version I’m reviewing. I highly recommend buying this through Amazon for their customer service, and this specific version of RC is the one I’m discussing in the video.
And here’s the Google Drive link to the sample footage.
Watch the video version - DJI Avata 360 Review
The Real Reason to Buy - IMO: Legal Solo "FPV" and the Reverse Reveal
Traditional FPV flying delivers incredible motion, but it often comes with significant operational headaches. To fly legally with goggles in most countries, a visual observer standing nearby is required. If you are operating solo in remote environments, that requirement instantly becomes a dealbreaker for many of us who want to do this recreationally.
The Avata 360 paired with the DJI RC 2 controller changes that. You can operate Visual Line of Sight (VLOS) on the sticks, using the controller screen for framing checks while keeping unaided eyes on the aircraft.
Yes, it’s not really FPV, but it’s close, and it offers a similar flying experience and video capture.
Importantly, for me, it also unlocks the "backward reveal" shortcut. Flying backwards close to trees or structures, line-of-sight is risky, but it’s one of my favourite shots. With 360-degree capture, you can now fly forwards safely, monitor your trajectory, and simply reverse the camera angle and keyframes in post. You do not need the reflexes of a 20-year-old FPV racer or the aerobic threshold of a sub-20-minute 5K runner (I’m trying) to pull off highly dynamic, fast-paced tracking shots. You can now do it safely, in “old man mode”.
The Avata 360 opens up this possibility, and a whole load of others.

Weight, Classification, and Handling
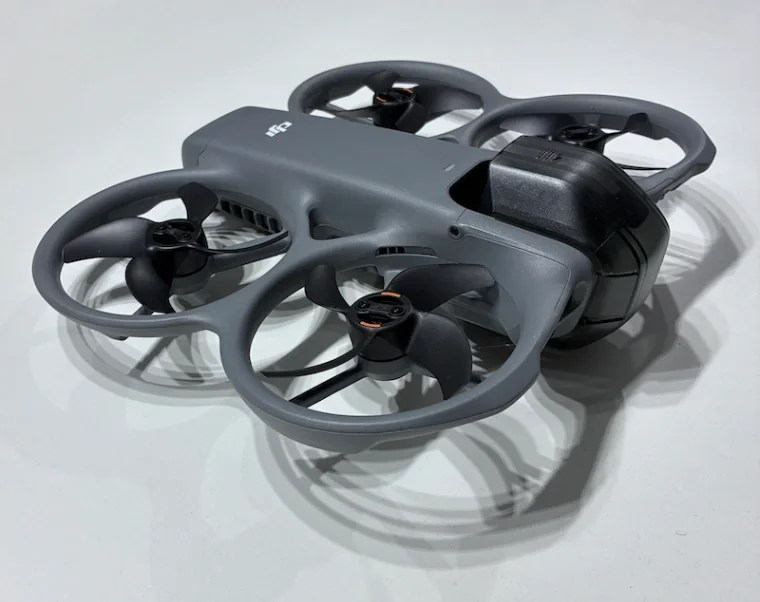
Weighing in at roughly 455 grams, the Avata 360 sits well over the sub-250g threshold. However, under UK/EU regulations, its UK1/C1 classification provides excellent operational flexibility. You can fly near residential, commercial, and industrial areas without the strict 30/50-metre bystander separation required for heavier legacy drones.
Out of the box, the flight tuning is punchy and aggressive. If you are accustomed to smooth, cinematic flight paths, or are an old heavy-handed knuckledragger like me, the default stick inputs will feel twitchy. Going into the controller settings and manually dialling down the exponential curves (expo) on throttle, yaw, pitch, and roll tames the responsiveness. The physical build itself is nicely rugged; the ducted propellers essentially act as a flying roll cage, making it highly resilient to bumps in tight spaces. Think twigs, leaves and branches. You’ve now got a decent chance of not getting a total wipeout by running into one.
Sensor Performance & The Fixed f/1.9 Dilemma
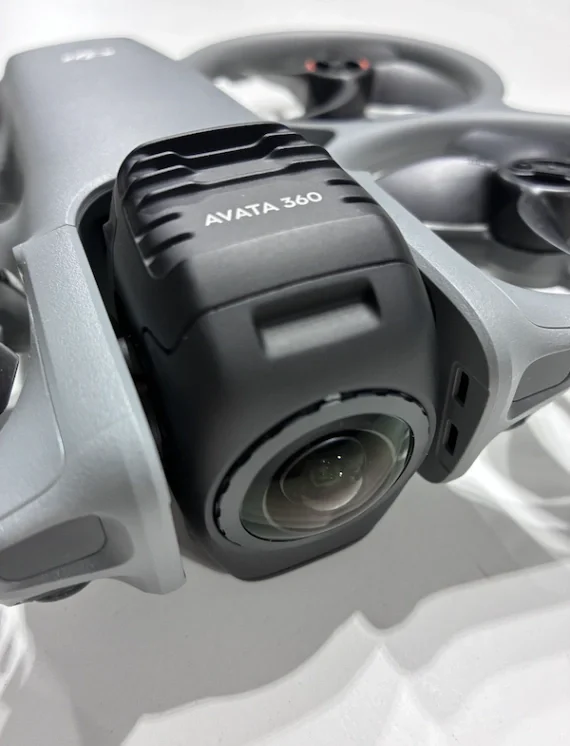
The dual 1/1.1-inch sensors capture a full 8K spherical image at up to 60fps. The dynamic range in D-Log M (10-bit HDR) is surprisingly capable. Flying out of pitch-black shadows directly into harsh midday sunlight, the auto-exposure ramps smoothly. I was recently able to emerge from the deep dark minging canal tunnels under Spaghetti Junction, to high above the traffic on a sunny day without so much as a noticeable ramp. Very impressive.
The Shutter Speed Problem
Because the fisheye lenses bulge out, you cannot mount standard ND filters. Or at least, I doubt that you can, without issue. No doubt someone will do it, but I suspect you’ll get vignetting, sharpness issues or glare. With a fixed aperture of f/1.9, shooting on a bright summer day forces the shutter speed up to 1/4000s or faster.
The 25p Stutter: At 25fps with a 1/4000s shutter, motion near objects looks extremely choppy and stuttered due to the lack of motion blur.
The 50p Fix: Switch the recording mode to 50p (or 60p on that side of the pond). The higher frame rate tightens the temporal gaps between frames, making the high-shutter motion look significantly smoother.
Further to this, I reckon the high shutter speed is probably great for the DJI stitching algorithm, as well as for stabilisation, so even if you do find a non-destructive way to apply ND to achieve something near-normal shutter speed, 1/100th or so, it could well turn out to be detrimental in other areas.
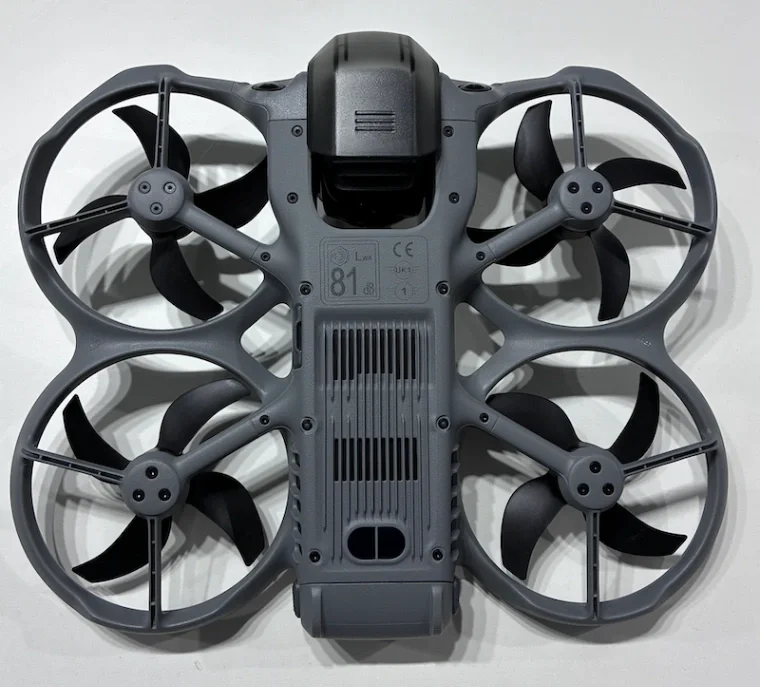
Image Sharpness
Because you are cropping a standard 16:9 frame out of an 8K sphere, your final export is pulling in a much lower resolution of native spatial data upscaled to 4K. I reckon that with an ultra-wide angle, this is probably 2-3K. I’ve noticed that subjects in the centre of the frame remain crisp, though the extreme peripherals can look slightly soft or mushy. I’m not quite sure just how this works in relation to the direction of the lenses, and I’m still not quite clear on what it is that I’m moaning about either….
I guess a better to say it is - I found that my subject look ok; the peripheral often looked mushy. So flying with a definite subject will look better, or at least distract your eyes from the mushyness.
Workflow: From the Field to the Studio
Managing 8K 360-degree media requires a structured post-production pipeline. Here is the straightforward path from the field to the output:
Field Capture: The 42GB of onboard storage is a massive safety net for those days an SD card gets left behind. Shoot in 8K D-Log M.
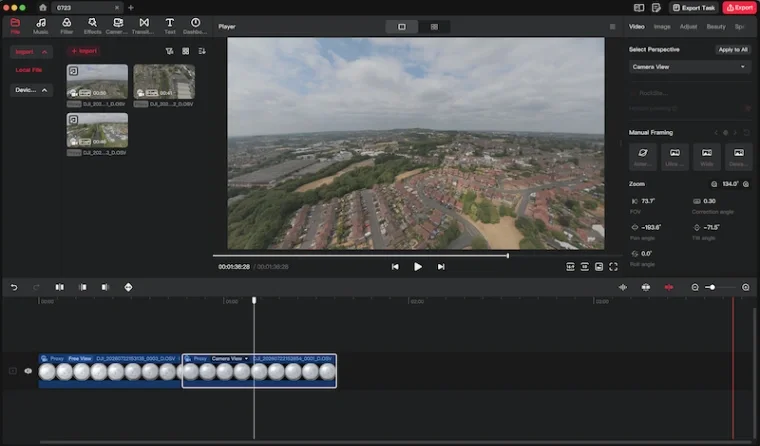
Keyframing & Stitching: Load the files into the desktop version of DJI's editing software. It will also have captured proxy files, which are a HUGE help here. Set the camera angles, select the field of view (Ultra-Wide, Wide, or Dewarp), and run the stitching optimisation pass. The algorithms are remarkably good at completely erasing the drone and stitching line from the shot.
Export: Export the flat 4K log files. (This takes a long time)
Final Grade: Drop the clips into Final Cut Pro or Premiere. Apply DJI's official D-Log M LUT, but pull the saturation back slightly for a more realistic, organic grade. Apply final colour tweaks here (Not the DJI app), make any final cuts, then export.
The Biggest Flaw: It’s bloody noisy!
If there is one major reason to hesitate before taking this drone into peaceful environments, it is the noise.
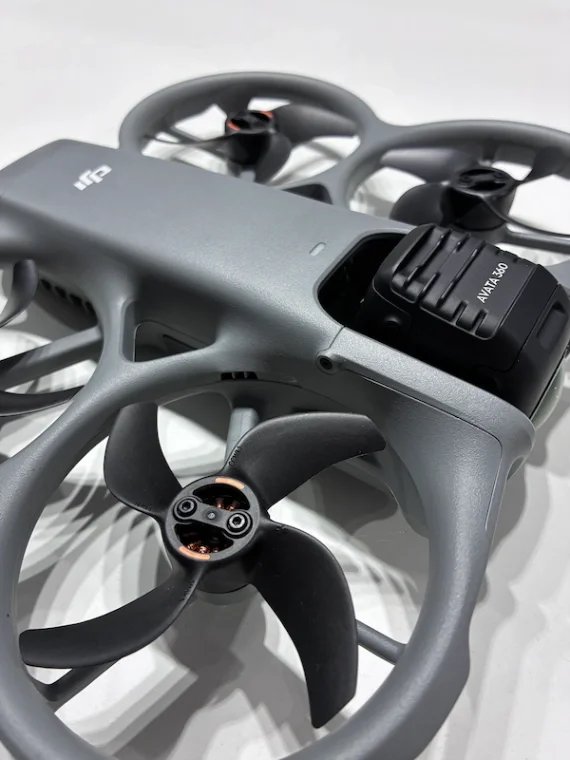
The combination of a 455g takeoff weight, high-RPM motors, and ducted prop guards produces a high-pitched, aggressive whine. Honestly, it sounds exactly like a kicked nest of angry wasps.
While something like the DJI Mini starts to disappear acoustically once it climbs 30 metres, the Avata 360 will be heard across an entire valley. If the goal is capturing the quiet presence and atmosphere of wild camping or filming a silent mountain summit at sunrise, the sheer acoustic disruption of this rig is a massive compromise.
Hoping to fly it at landmarks unnoticed for some natural scenes without people stopping and looking for the drone? Forget it.

My Final Verdict
The DJI Avata 360 is, of course, not a replacement for a dedicated high-end cinema drone; it was never meant to be. Nor is it a true FPV drone; it’s debatable if it was ever intended to be!
What it is, is a specialised creative tool. If you want a safe, legal way to capture those dynamic reverse-reveals, complex crazy B-roll shots, and flexible post-flight framing, solo without a spotter, then it delivers where traditional setups fail.
If you’d like to fly first, frame later, then now you can. At the expense of some loss in quality, sharpness, and with some distortion.
Plus the wasp’s nest.
Respect the fixed aperture, lock it to 50p, accept the high shutter speed, dial down the stick sensitivities, and it becomes a powerful addition to a professional toolkit.
Please consider buying it through THIS AMAZON LINK, take a look at the more in-depth YouTube video above.
Cheers
Chris